With the continuous advancement of technology, desktop computers still play an important role in our lives and work. Although the rise of laptops, tablets, and smartphones has made us seemingly less reliant on traditional desktop PCs, for many tech enthusiasts, professional workers, and even gamers, desktop computers remain the ideal choice. Moreover, did you know that building your own desktop PC can save you money and offer the advantage of customizing its performance to suit your needs? It’s definitely an exciting project worth trying.
Building your own desktop computer from scratch may sound complicated, but in fact, it’s much simpler than you think. In modern times, assembling a PC is more like putting together a Lego set than dealing with tangled wires and cables. And with the vast array of helpful online guides, building a PC is easier than ever before. Today, I’ll take you through the advantages of building a DIY desktop, the assembly process, and some practical tips to help you get started and create a personalized computer that’s truly yours.
Advantages of Building Your Own Computer
Based on my personal experience, building my own desktop computer has brought me a lot of surprises. Compared to buying a pre-built desktop from a store, a DIY desktop PC offers significant advantages in terms of cost-efficiency, performance customization, and future upgradeability.
- Customized Performance
Everyone has different needs when it comes to computers. You may prioritize gaming performance, video editing capabilities, or need a high-efficiency workstation. Pre-built desktops are often designed to cater to the average consumer and may not fully consider specialized needs. When you build your own PC, you can select components tailored to your needs. For instance, if you’re a gamer, you can choose a powerful graphics card for performance, or if you’re into video editing, you can opt for a multi-core processor for better rendering speeds. - Cost Savings
When you purchase a pre-built desktop, many of the configurations include unnecessary extras like brand premiums or components that don’t align with your needs. A DIY build allows you to only pay for the components you need, eliminating those unnecessary costs. Overall, by assembling your own PC, your budget is spent on the most important hardware, and you don’t pay for the brand name or unneeded features. - Better Upgradeability
One of the key benefits of building your own computer is the ease of upgrading in the future. With rapid technological advancements, you can swap out components whenever new technology becomes available. On the other hand, many pre-built desktops are not designed to be easily upgraded, making it difficult to replace key parts like the graphics card, memory, or processor. A DIY desktop is built with future upgrades in mind, ensuring that you can replace components like the GPU, add more RAM, or install a faster storage drive without a hassle. - Learning and Hands-On Experience
Building a computer from scratch is also a learning experience. As you assemble the PC, you’ll gain a deeper understanding of computer hardware, how each component functions, how they’re interconnected, and what’s required for optimal performance. These skills come in handy when troubleshooting or upgrading the system in the future, and they’ll make you more confident in managing your technology.
Building a PC: Even If You’ve Never Done It Before, Trust Me, It’s Easier Than You Think
Many people may find the idea of building a computer a bit intimidating, especially if they’ve never dealt with computer hardware or are worried about wiring and setting things up. But the truth is, with modern hardware components and technology, building your own PC is much easier than it seems. In fact, assembling a PC today is more like putting together a Lego set—simple, fun, and rewarding.
- Choosing the Right Hardware
The first key to building your own PC is selecting the appropriate hardware. The components you’ll need include the processor (CPU), graphics card (GPU), memory (RAM), storage devices (HDD or SSD), motherboard, power supply unit (PSU), and cooling systems. You’ll need to select the right hardware based on your needs. For example, if you’re a gamer, you’ll want to invest in a high-performance GPU; if you’re into video editing, a multi-core processor and large RAM are key. Nowadays, there’s plenty of online information and resources to help you choose the right components. For example, when I was building my PC, I referred to reviews and comparison websites to understand the features of each hardware piece and made my selection accordingly.
- Assembly: Putting Together Your “Lego”
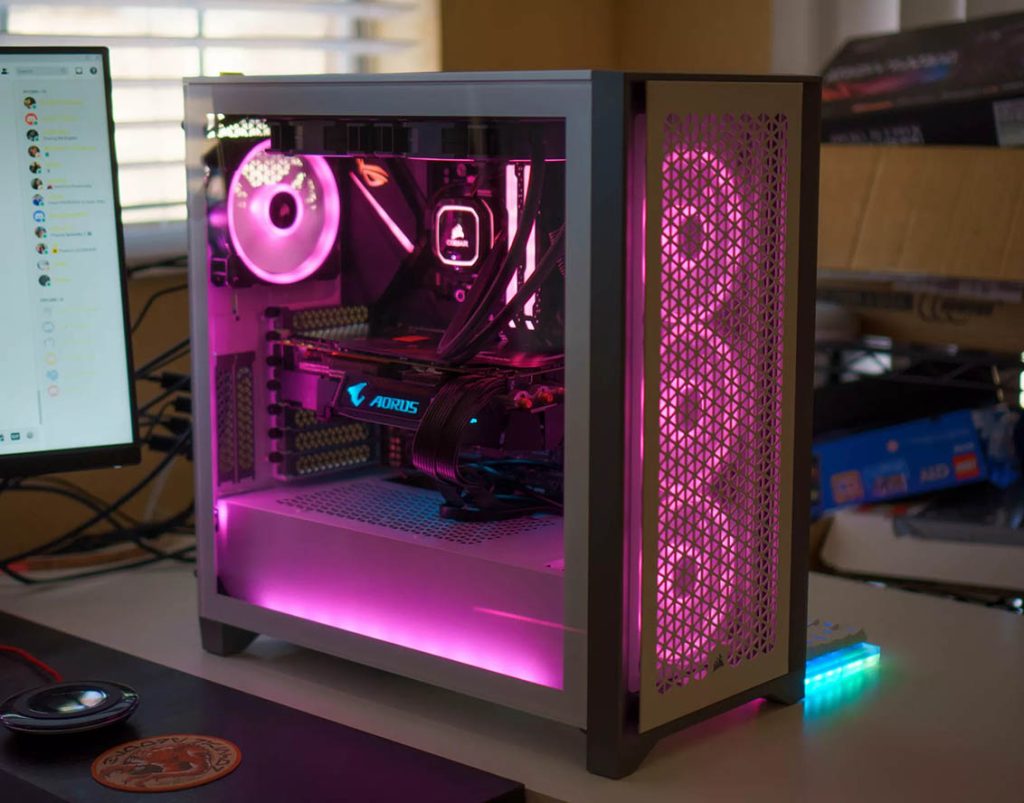
The actual assembly process is not as complicated as it might sound. Start by installing the motherboard, then add the CPU, memory, and graphics card. Afterward, mount the motherboard into the case. Then, install the power supply unit, storage devices, and connect all the cables and power connectors. - Modern hardware is designed to be intuitive, and most of the slots and connectors are standardized, so it’s almost impossible to plug something into the wrong place. With a simple screwdriver, you can assemble the PC step by step, and it’s not as difficult as it may initially seem.
- Installing BIOS and Operating System
Once you’ve installed all the components, it’s time to install the operating system. You’ll need to enter the BIOS to perform some initial configuration and ensure all hardware is functioning properly. After that, you can use a USB drive or DVD to install the OS (such as Windows or Linux). The process is simple and involves just following the on-screen instructions. Once the OS is installed, you’ll need to install the necessary drivers for your components and optimize your system for the best performance.
Tips for a Smoother PC Building Process
Over the years of building PCs, I’ve gathered several useful tips that can help you avoid common mistakes and make the process go more smoothly:
- Ensure Hardware Compatibility
Compatibility is a crucial factor when selecting components. For example, the CPU must be compatible with the motherboard’s socket, and the RAM size must match the motherboard’s slots. Fortunately, many websites and online stores offer compatibility checkers that can help ensure all your components will work together. - Plan Your Cooling System
Cooling is one of the most important factors in ensuring your PC runs smoothly. High-performance components generate a lot of heat, and if your cooling system isn’t up to par, it could cause your system to overheat and reduce its lifespan. Make sure to choose a good CPU cooler, case fans, and, if needed, a water cooling system to maintain optimal temperatures. - Cable Management
Proper cable management not only makes your PC look neat, but it also improves airflow and ensures better cooling. Tidy cables prevent the obstruction of airflow, reducing the risk of overheating and improving your system’s overall efficiency.
Recommended Brands and Products
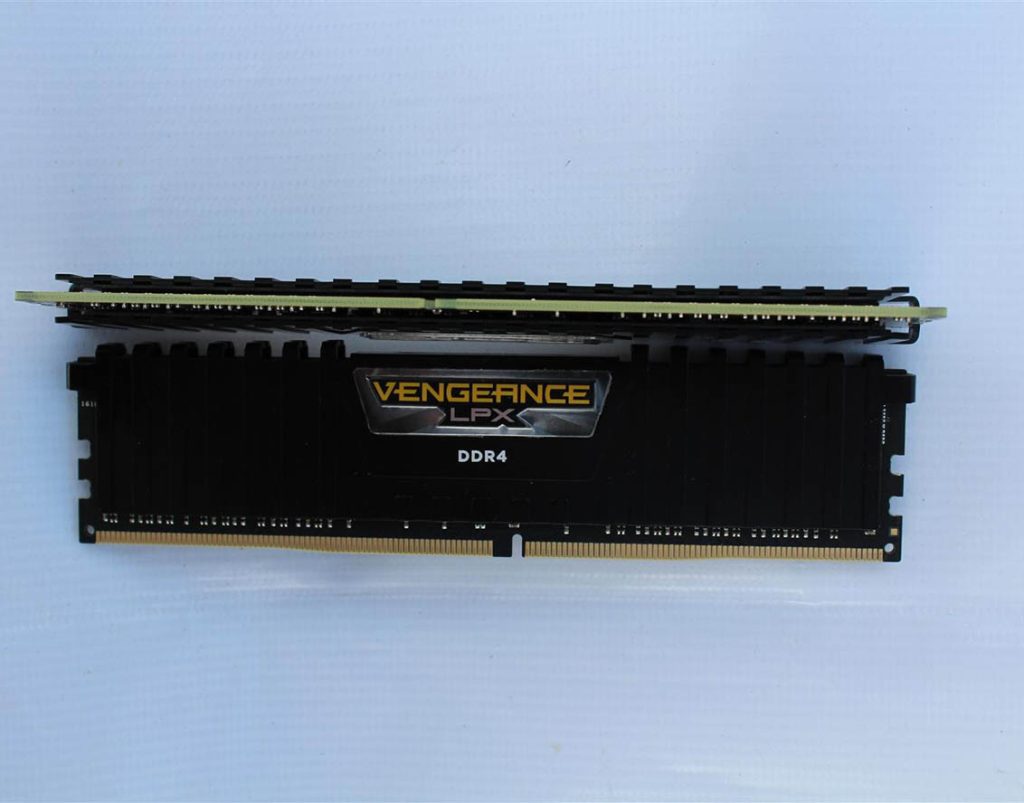
- Corsair Vengeance LPX DDR4 16GB RAM
Corsair Vengeance LPX 16GB DDR4 RAM is an excellent choice for high-performance memory, known for its great performance and reliability. With high frequencies and low voltage, this memory is perfect for gaming, content creation, and multitasking. - NZXT H510 Mid Tower Case
The NZXT H510 is a highly popular mid-tower case that offers a clean, modern design, excellent airflow, and ample space for components. Its cable management and cooling options are top-notch, making it a favorite among DIY builders.
Building your own desktop computer is not only a rewarding challenge but also a fun and educational experience. With a DIY PC, you can get exactly what you want in terms of performance and features, all while saving money and gaining valuable skills. If you’re doing it for the first time, don’t worry—assembling a PC today is simpler than ever, thanks to the advancements in technology and the abundance of online resources.
